The story of a log
Materials to make a wooden scoop
A green birch log
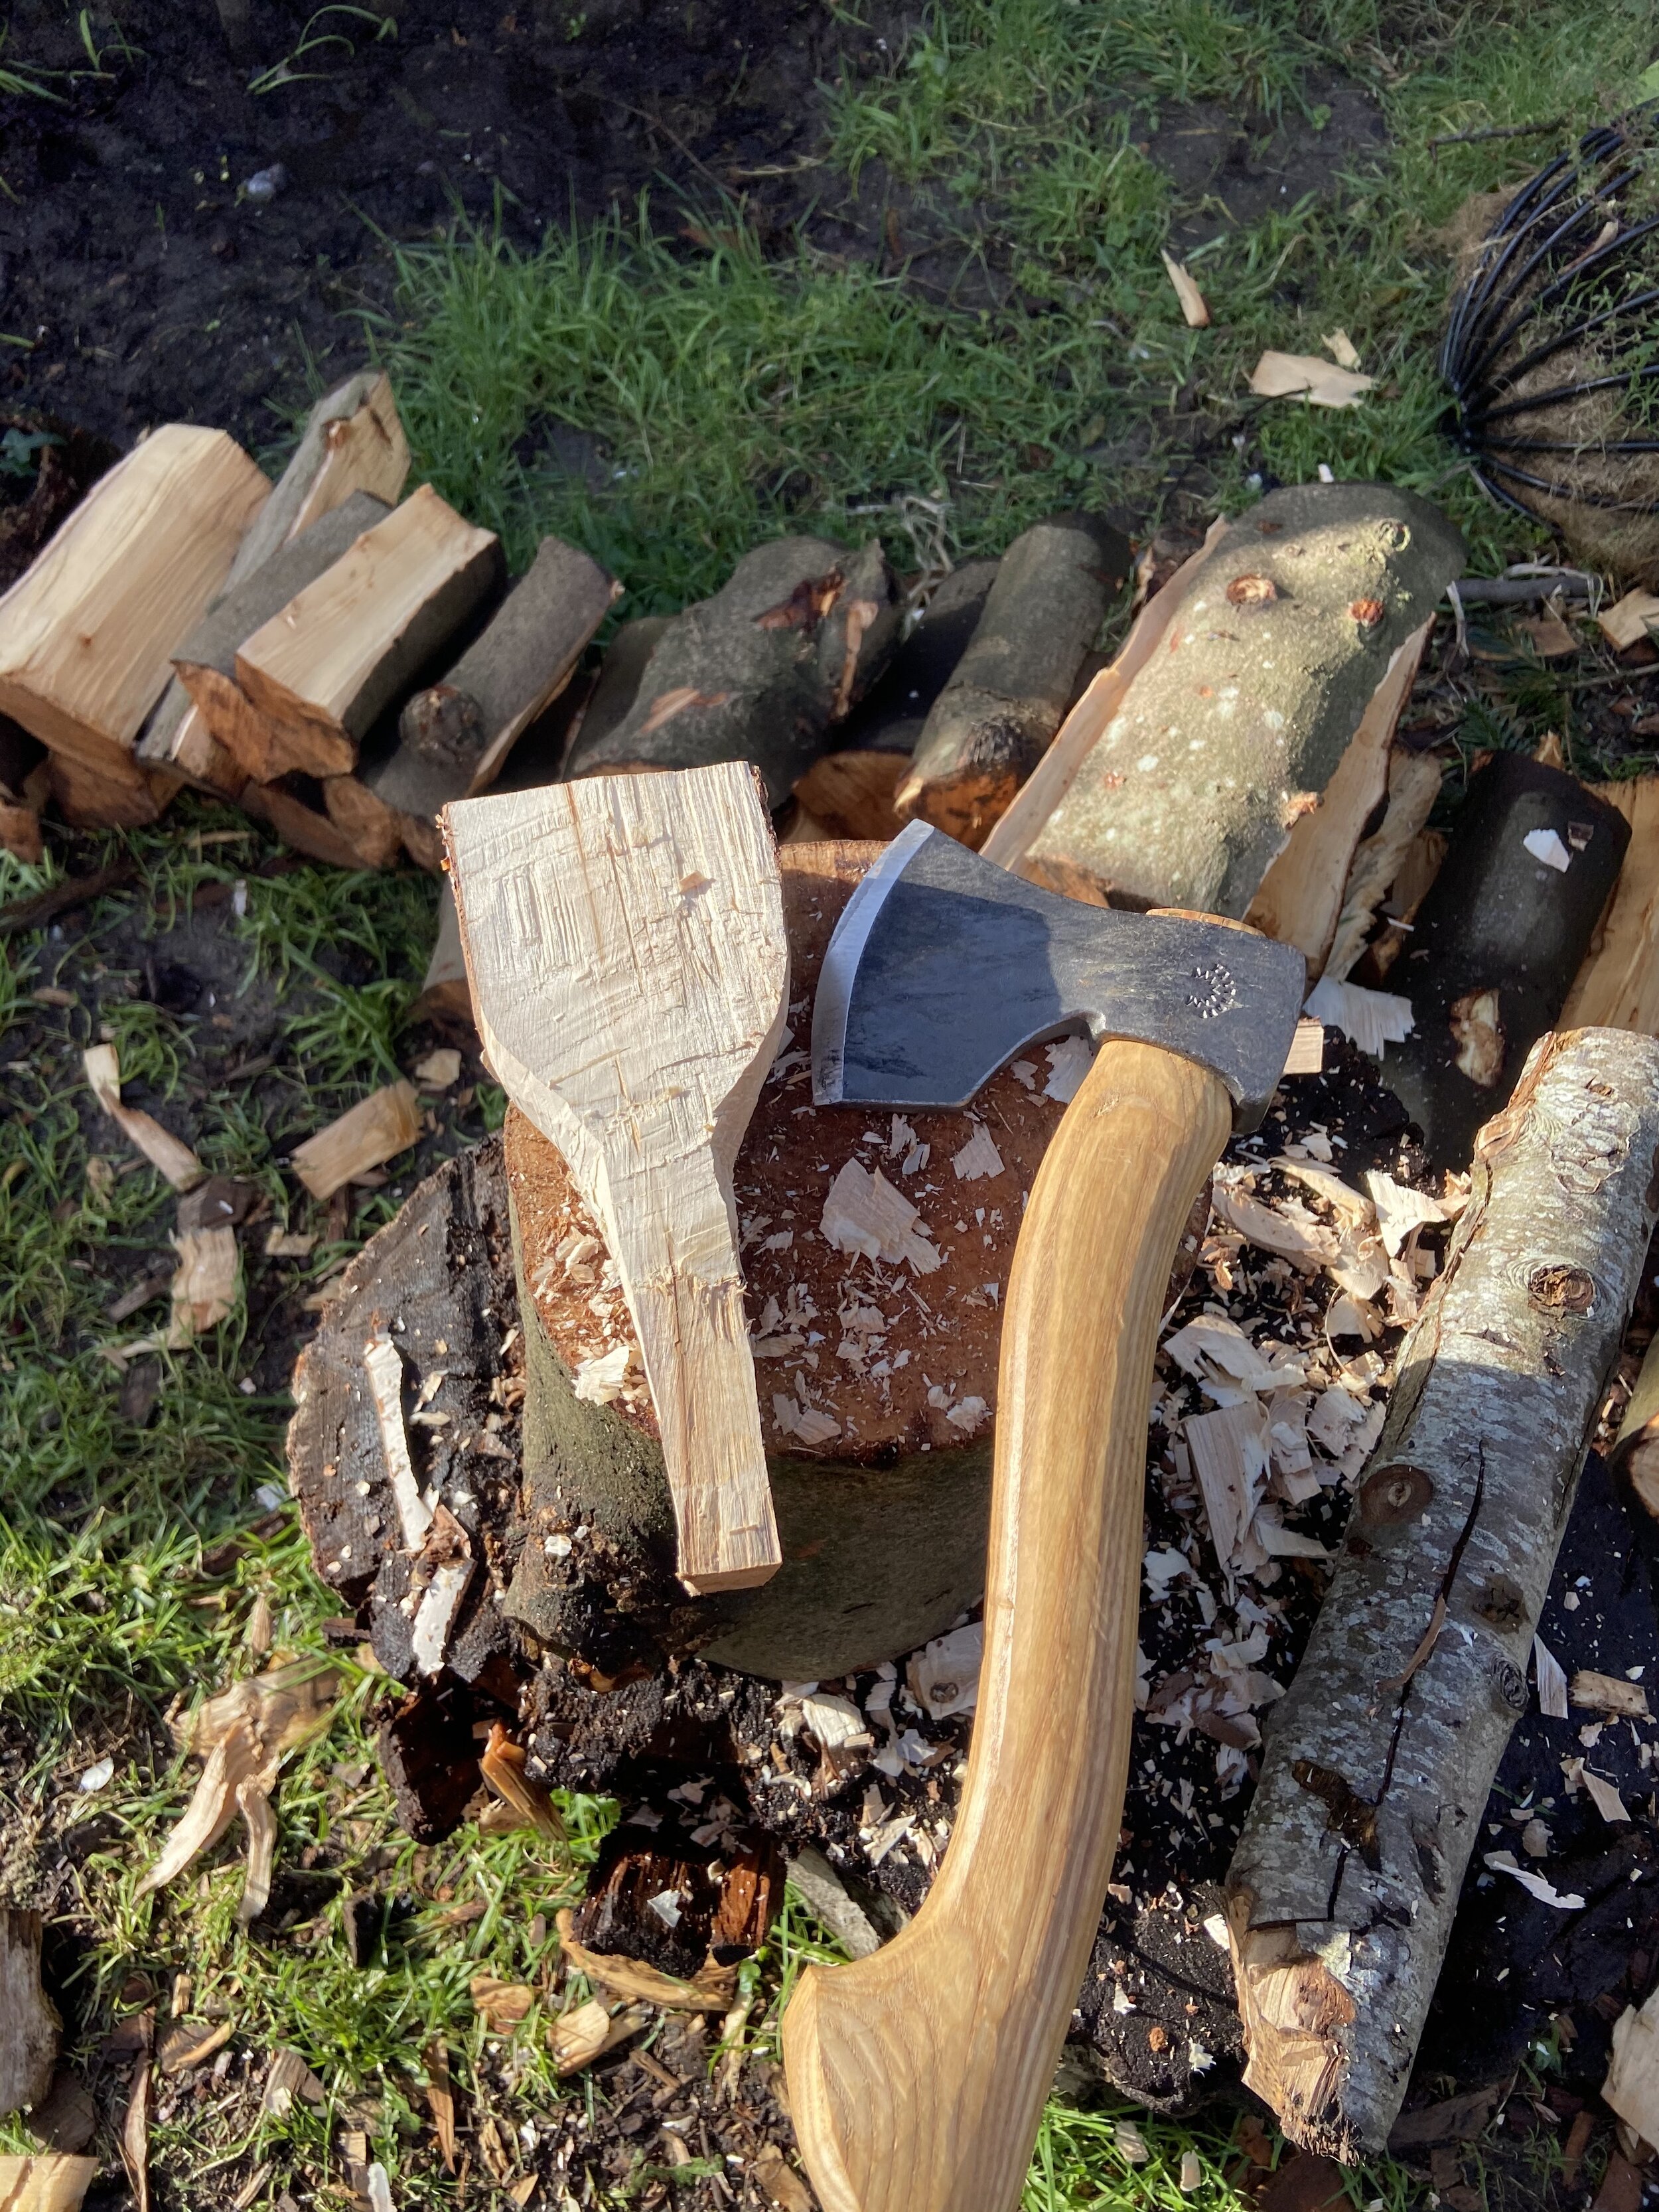
A Julia Khaltoff carving axe (this is a thing of beauty)
Wood Tools spoon kinves (right hand open and compound curve)
Standard flat chisels
Stanley bench vice
Start with a log. Not any log. It needs to be green wood (ie cut frreshly), and not too hard a wood. In this case a fresh birch log, kindly given to me by a friend of my daughter who - lucky guy - works as a gardener on a big estate. Thank you.
Start with a fresh birch log
Fresh birch is the go to material for green carving though plenty of other woods can be used - each with it’s own character. A cut section is quickly split to give two halves ready for carving. So I’ve cut to the lentgth I want to carve with using a hand saw: the cleaner the cut the less finishing there is later, so it’s worth being careful here. And then to split, I put my hand axe where I need it to go and gently tap it through on the back of the axe head with my rough mallet. That mallet might look a bit dodgy - but it took me about 10 minutes to make (from a piece of willow) and it works exactly as I need it to so I’ve never bothered ‘improving’ it.
Gentle tapping will split the birch fairly cleanly down the middle, all being well. Knots and any natural twists in the wood will distort the split: it’s never perfect. But close enough is what I’m looking for to be able to then rough out the blank.
I mark out my shape in pencil on the top, and circle where the shoulders will cut in, right around the log. And then cut with the axe. How you hold a carving axe is a matter of very personal preference. The balance of the axe, the shape of the blade, the length of the handle - all matter.
My Khaltoff axe is perhaps the most beautiful thing I own. And any muppet can carve a bit with one of these if they take time and go gently. So this is all about carving in the outline shape. I start with creating a flat top: the key is to remember that the wood is angled but the axe goes up and down as straight as can be achieved. If I find myself trying to angle the axe, I need to stop and reset: I angle the wood wherever possible and keep the axe cutting straight up and down.
With a flat and smooth top, I start to shape in the shoulders, cutting gently in to create the bowl and into the top of the handle. The risks to avoid at this point are putting a cut too high - which can ruin the piece if it is deep enough that it cannot be cut out again. I am holding the top of the scoop with the handle down onto my cutting block. Occasionally I will turn and cut back into the curve. I am trying to remove large amounts of wood here but going too fast can split the wood or take off where I shouldn’t. I can’t add wood back once I’ve removed it. So back to that taking care point.
Eventually practice is the only solution - and practice makes for careful carvers.
Cutting in from the back of the bowl to the back of the handle is perhaps the hardest part here: there is a limit to what I can do with an axe. I will revisit with a sloyd knife in due course.
Some (most?) carvers would carefully take all evidence of the underbark out. Personally, I am not looking for a perfect museum piece (good job as I couldn’t carve one if I wanted to) and I quite like the connection that a little bark gives me back to the original wood that I’m working with, so I’m happy to leave some. Even so, by the time I’m done with the knife most will have gone.
Pushing a very sharp axe - rather than striking the wood with it - is a very effective way of getting a good clean cut. I will usually end the blank-shaping by refining with push cuts holding the axe in both hands. And now to the bench.
I’ll do a little on the handle next, but mostly that’s just procrastination against the effort of carving the bowl. This is going to take time, some strength and again, care.
The bowl is just too wide for my vice, so I am obliged in this case to hold the piece by the handle. While not ideal, it also isn’t a disaster. The aim here is cut away lots of wood as quickly as possible without putting in any cuts which ruin the piece. I use flat chisels here - though a gouge would also be good.
There is always a spot which is hard to get to, with a limited tool set - and for me it’s the back right part of the bowl, looking from the handle along the scoop. That’s fine - it just takes some creativity and really sharp tools.
Amd now it’s just a question of final thickness. I finish off with a hook knife - usually the compound to get into the tight corners, and then a sloyd knife to get some level of smoother finish on any really rough areas.
Did I mention that Khaltoff axe?


